Add Your Picture to Learner 7.1
Some time ago we introduced Gravatars to both Learner and VTA Backoffice (see more in Gravatars). But what if you do not want a Gravatar? Beginning in Learner 7.1, you can upload your own picture! Here’s how.
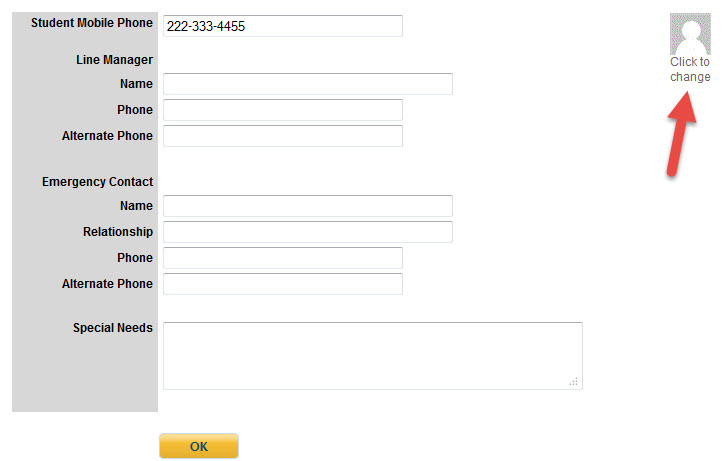
- On the utilities menu (the gear icon on the right side of the screen), select My Contact Info. Or, just click on the gear icon…you will be taken to My Contact Info.
- If you have a gravatar, your picture will display on this page. If you do not have a gravatar, you will see something like the screen shown below. Click the picture to edit.
- You are now on the Change Picture page. Click the “Use Picture” radio button to begin the picture upload process.
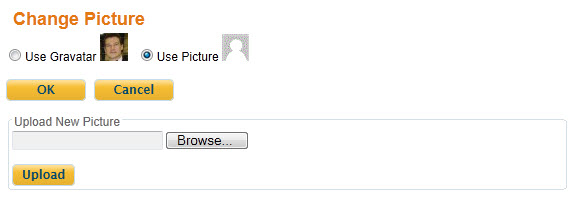
- Now click the browse button. This will allow you to select a picture to upload. Please note that your picture file may not be larger than 1 MByte, and it must be a “jpeg”, “jpg” or “gif” file.
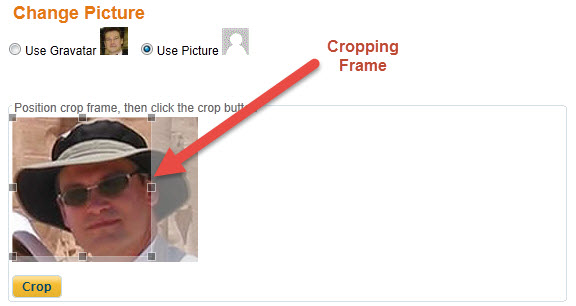
- After you have selected a file, click the Upload button. You are now asked to crop your picture to fit in the designated cropping frame. Drag the cropping frame to position it, then click the Crop button.
- Once your picture is cropped, a thumbnail version of your picture is shown. Click the OK button to use this picture.
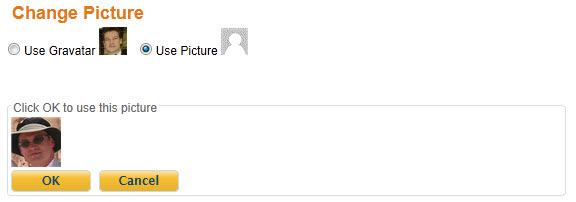
That’s it! Now you have personalized Learner with your picture.
Art Werkenthin is president of RISC, Inc. and has over 30 years' experience working with LMS systems in the Oil & Gas, Retail, Finance and other industries. Mr. Werkenthin holds a B.S. in Electrical Engineering and an M.B.A. in Information Systems Management from the University of Texas. Mr. Werkenthin is a member of the ADL cmi5 committee and frequently presents on cmi5 and xAPI. Follow him on Twitter @AWerkenthin for xAPI and cmi5 updates, as well as blog post announcements.